OLCMS manual
Step 1: Log in
Go to page: https://olcms.stem4youth.pl/ and click Sign In link. Fill your user and
password.
Note
Right now it is recommended that you use log-in per institution. OLCMS does not store personally identifiable information, so personal log-ins are unnecessary right now.
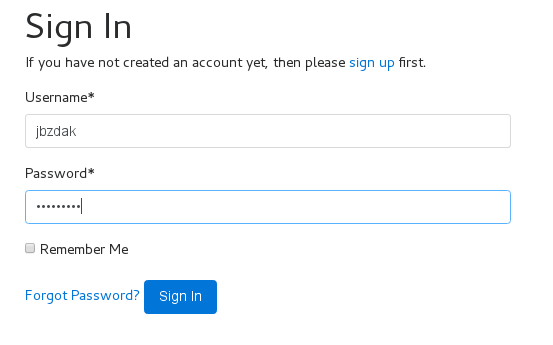
Sign in
Step 2: Add some content item
To add new content click Content Item and then Add. Then you need to fill the following:
type— there is only one content item type: “basic”, we will add “movie”, “quiz”, “course” at a later date.title— title of content item.author— authors of your content
Rest of fields are optional, however you might want to take special care to following:
license— as it will legally mean that your content has following license.domains— will be used to enable teacher to filter by e.g. age group.
Click save, and you are done.]
Note
There is a lot of information to fill (and there will be more!), all this was agreed in Ljubljana, however if you feel this is excessive, let us know and we’ll priorize!

Add Content Item button (visible for logged-in users)
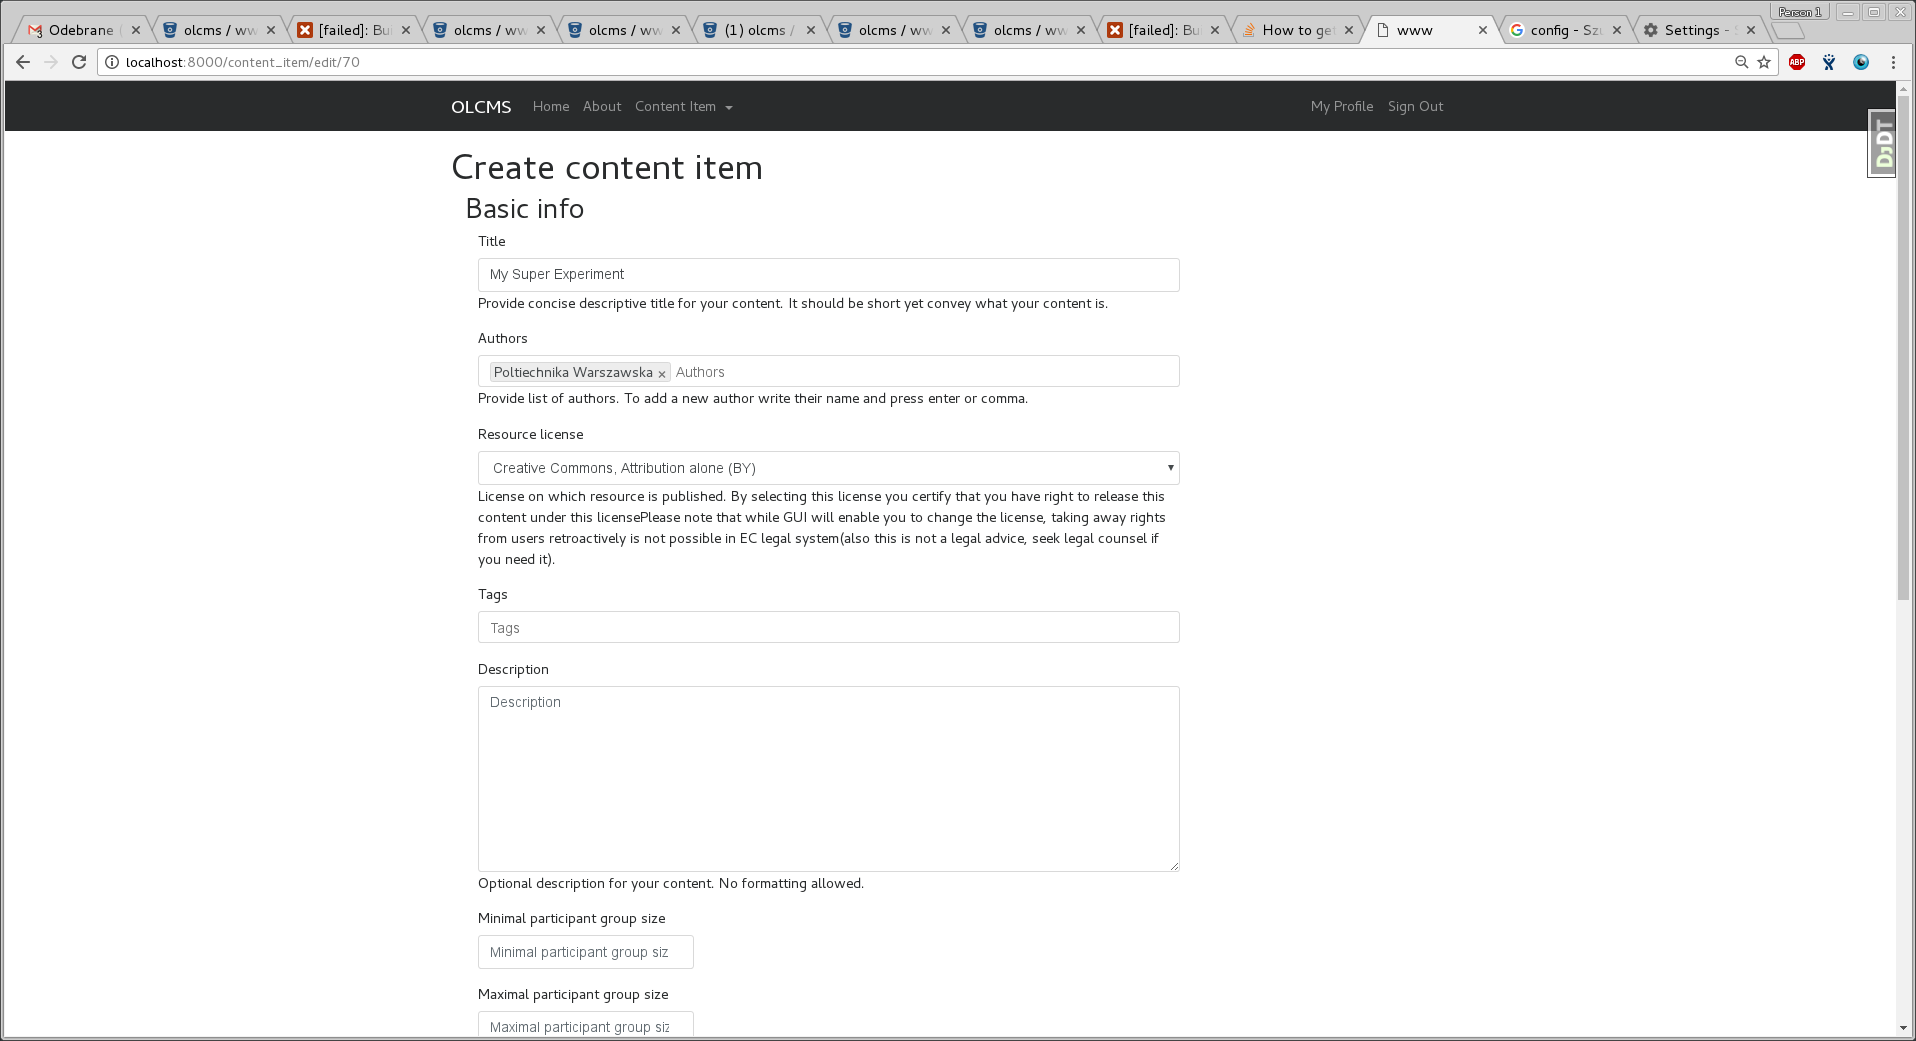
Form for adding content item
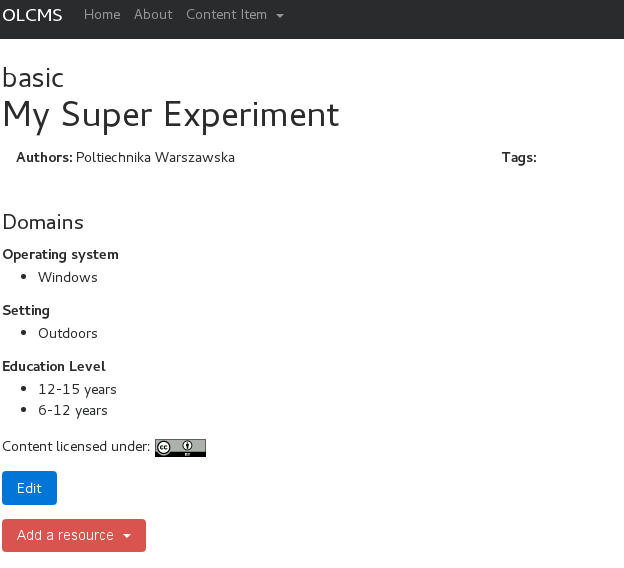
Created content item.
Step 3: Add some resources
Right now there is no content in your content item. To add things your teacher will be able to
download you can add resources. Click on Add resource button and select appropriate resource
type.
Right now you can attach:
- Files — up to 3GB in size.
- Links
- Documents — that are written in provided editor. These documents can be downloaded as html files, but we will add branded pdf files as we go.
Attaching files
Click on Add resource button and select appropriate resource type. Fill in file details and
click Submit, then select file to attach and click Submit, wait until dialog closes.
Attaching documents
Click on Add resource button and select appropriate resource type. Fill in file document and
click Submit, then fill in the document. If your document is long you are welcome to use:
“distraction free mode”.
In any case your work is saved locally in your browser, and sent to server when you click safe.
Step 4: Searching for documents
Your document will be searchable after 6 minutes from being saved.
Attaching videos
Right now you can attach single movie to a Content Item of type Video (if you need more please let us know — if you need more — when we implement Course Feature you’ll be able to use this to have multiple videos).
To attach a video add a resource of type “Video”. Your video will be uploaded automatically to youtube channel, upload is done in background, so it might take a while, when video is uploaded you’ll see YouTube icon in the resource.
If anything goes wrong with the video, I’ll get an email, which will enable me to re-upload the video and fix any errors.